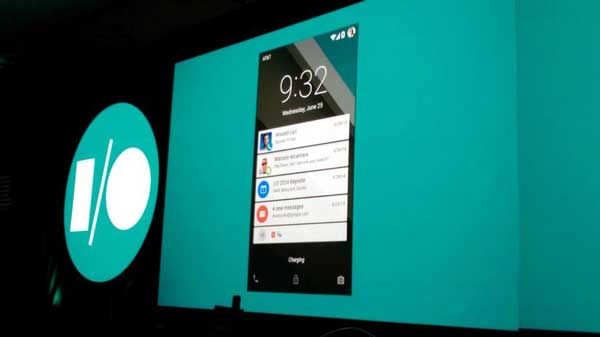
Android L firmware is finally available for the LG Nexus 4 and all users can install the Developer Preview on their handsets. Android L has been considered as one of the biggest updates for Android. It brings the new ART runtime system, battery saving feature and a totally redesigned user interface.
At the moment, Android L Developer Preview is officially available only for the Nexus 5 and Nexus 7 (2013) edition while older devices like the Nexus 4 and Nexus 7 (2012) won’t get the developer preview in an official way. However, long-time Android users already know that official way is not the only solution.
Also Read: How To Root Android L Nexus 5 (Easy Guide)
Nexus 4 users, don’t be sad. You can install Android L Developer Preview on your handsets too. Android L Developer Preview has been ported to all Nexus 4 handsets. The port is fully functional and it is completely stable. Of course, it is not stable for everyday use but it is a stable port.

It means that you will have the same experience on your Nexus 4 with Android L as a Nexus 5, again, with Android L Developer Preview. This means that all the problems and bugs that Nexus 5 has are still present on the Nexus 4.
How to install Android L Developer Preview on the Nexus 4
Requirements
-Rooted Nexus 4 handset
– Latest TWRP Recovery installed
– Ported Android L Developer Preview firmware (link)
Also Read: How To Install Android L Theme on Google Now Launcher
Step 1. Download the firmware and move it to your phone.
Step 2. Turn off your Nexus 4 and boot it into Recovery Mode.
Step 3. Wipe cache, dalvik cache and perform a factory reset.
Step 4. Install the ROM and reboot your phone.
Step 5. Because the new runtime system is switched to ART, it takes up to 20 minutes for the phone to boot at first so leave it alone once you have installed the ROM.

