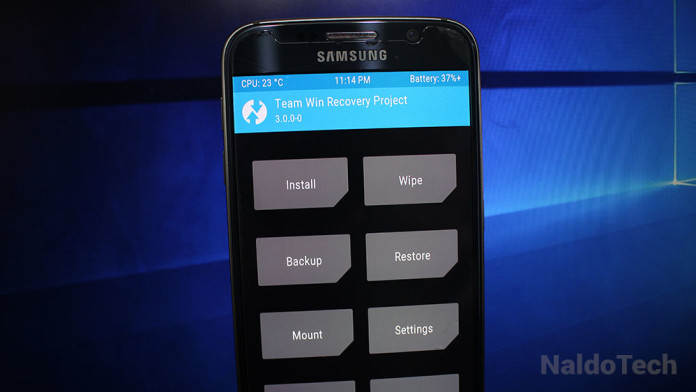
The TWRP team has just released version 3.0.0 of the most popular Android custom recovery. It comes with a brand new theme, performance enhancements and more. If you want to take a look at what has changed with TWRP 3.0.0, take a look here.
On the article you can find everything new with the update and general instructions on how to install it. But on this article we are going to be more specific with the installation guide. There are many ways to install TWRP 3.0.0 but probably the most popular one is through fastboot and ADB.
Basically, if you haven’t installed a custom recovery on your phone and you want to install one, then you can download the proper TWRP .img file on your computer, connect your phone to your computer and flash the recovery using fastboot commands via CMD.
How To Install TWRP 3.0.0 Using Fastboot & CMD
Installing TWRP, and in this case version 3.0.0 via fastboot is an easy process yet you need a few things and prepare your phone to correctly flash the recovery. First of all, you need to install ADB and USB drivers so your phone can connect to your computer. Then you need to download the right .img file for your phone variant.
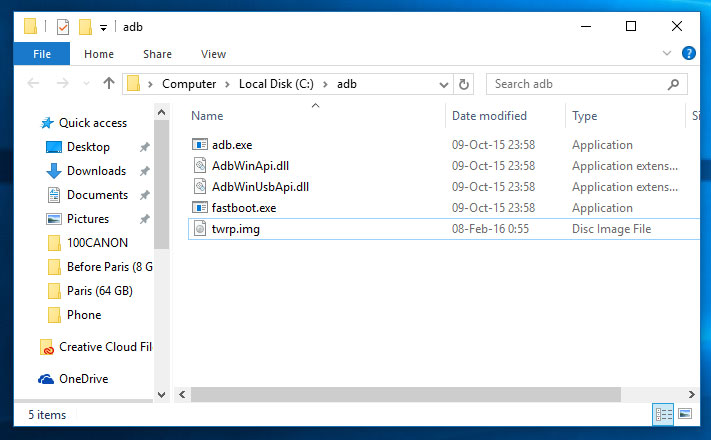
Download the image file and transfer it to the ADB folder you just installed and rename it twrp.img.
- Turn off your phone. Press the power and volume down buttons to put the phone into fastboot mode.
- Now, open the ADB folder, hold Shift and right-click to open a menu. Select “Open command window here”. This will open CMD.

- Connect your phone to your computer with a simple USB cable.
- Enter this command on CMD:
fastboot flash recovery twrp.img
- The recovery will be installed. Now you can manually restart your phone or you can enter the following code to do so for you:
fastboot reboot
You have now flashed TWRP 3.0.0 custom recovery on your Android phone. Enjoy the new theme and additional features.

