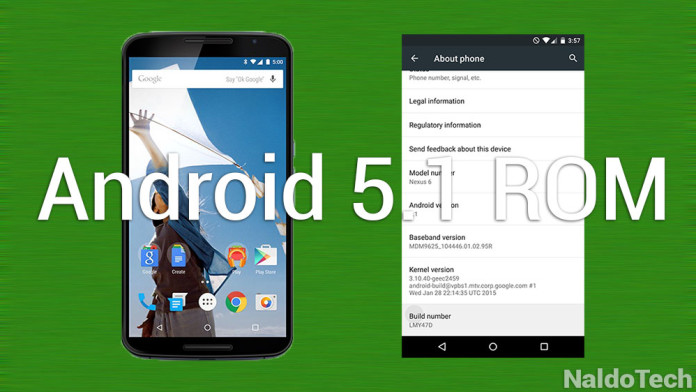
Since the moment Google released the biggest Lollipop update with Android 5.1 version, developers have been very quiet and not active in the forums. This has happened because they were too busy working on custom ROMs for their devices. While Android 5.1 is not as big as an update compared to original Lollipop, it brings a long list of changes to the table.
Some features that are worth to be mentioned are a better security system, improved and easier-to-use notification modes and dual-SIM support so you can finally use two SIM cards on your phone. Android 5.1 Lollipop is designed in a way that if the phone leaves your possession, it will turn itself into a brick, so thieves won’t find anything on your phone. Also, the infamous memory leaks has been fixed. Now you can finally open apps without worrying about them closing because of low RAM storage.
Since the Nexus 6 is a Google device, the support for this phone is incredible. You only have to take a look at the forums for this device to understand the amount of support this phone has. Unlike other OEMs that struggle to provide a stable Android 5.1 update, Google updated its flagship device to Android 5.1 just a few days after the official release.
There are two ways of getting the Android 5.1 update up and running on your Nexus 6. The first way is to update through OTA by going to Settings > About and the second way to download the firmware image file and flash it through fastboot.
However, both of these methods do not have root access. Basically, you have a Nexus 6 with Android 5.1 but without root access. We all know that root is Android’s biggest asset so lack of root is a huge letdown for many. Users have preferred to stay on Android 5.0.2 until developers find new exploits to root Android 5.1.
How To Install Rooted Android 5.1 Lollipop ROM on Nexus 6
Finally, root is is finally available for Android 5.1 and you can root your Android 5.1 Nexus 6. If you don’t like following the standard method of rooting, then we have an even better news for you. You can install an Android 5.1 ROM on your Nexus 6 with root access.
Developer “scrosler” has managed to root the Android 5.1 image for the Nexus 6 and turn it into a custom ROM. The ROM is rooted with SuperSU, odexed and has Busybox and init.d support. The boot.img file is also decrypted for better performance.
Download
ROM: Shamu-Stock-Root-5.1-LMY47D-Odex.zip
Recovery: TWRP Custom Recovery
- Download the ROM and move it to your phone. Make sure to have some space left because the ROM is over 800 MB big in size.
- Once you have made sure that the ROM is located in a folder on your phone, turn the device off.
- Press the volume up, volume down and power buttons at the same time to boot into Fastboot.
- There, press the volume buttons to highlight Recovery and press the power button to select it.
- In TWRP recovery, wipe data and make a factory reset.
- The press the “Install” button, choose the ROM and flash it.
Once the process finishes, reboot your phone and wait for a few minutes. Now your Nexus 6 should be running an Android 5.1 with root access. If in doubt, head over to the Play Store and download an app called Root Checker to see if you have root access or not.

