Windows 7 is considered as the best computer operating system in the world. Even though Windows 7 has been available since 2007, it is still the most popular Windows version. Windows 8 is now 2 years old but it hasn’t been adapted by many users.
The answer to that is very simple. Even though it is much faster, system requirements are lower, users haven’t installed it because of one big thing that is missing and that it the Start Menu.
Also Read: Change Status Bar Color With Flat Style Colored Bars Xposed Module
Microsoft didn’t think that it would be such a big deal but after seeing all the complaints, it had to add a Start button on Windows 8.1. But there is still no Start Menu.

You can see how much users love the Start Menu. That’s why Microsoft officially added it on Windows 10. If you also love the Start menu, you can download and install it on your Android phone.
You heard it right. You can enable Windows Start menu on your phone too. Follow the guide below to learn how to install it.
Installing Windows Start Menu on Android
There are only two things you need to download:
- Xposed framework: link
- Taskbar module
- Download the Xposed Installer APK file.
- Install it.
- Open the app and go to Framework. Download and install the framework.
- Reboot your phone.
You have successfully installed Xposed on your phone. Now, you need to download the module.
- Open the app again and go to Download.
- Search TaskBar, download and install it.
- Go to Modules and activate it.
- Reboot again for the module to work
Also Read: How To Get & Install iOS 7 Full Theme on Android (Xposed & Theme Chooser)
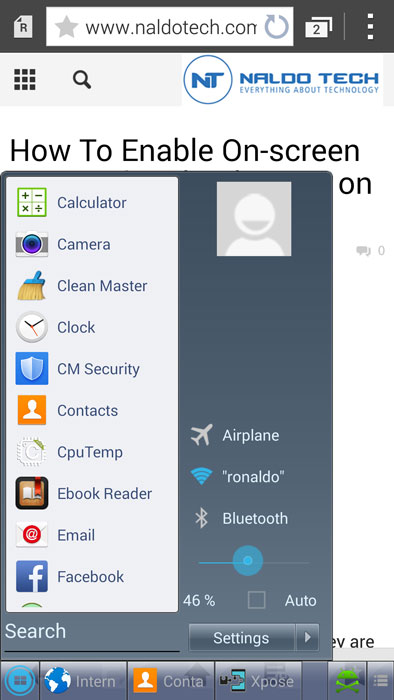
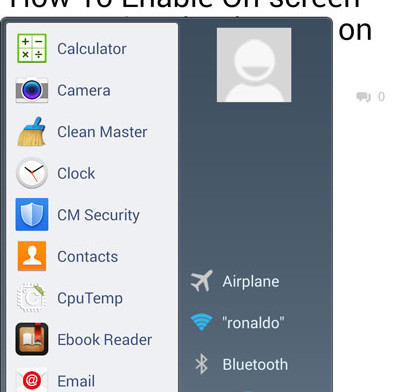
A blue button will appear at the bottom left corner of the screen. Tap on it and you will see the classic Windows Start Menu. You can access all installed applications, search, WiFi, Bluetooth, user profile and brightness slider.


SHIT The LOnghorns Crashed Your System